The Joy of Baking Your Own Bread
Baking bread at home has become a cherished ritual for many. The allure is unmistakable; the comforting aroma filling your kitchen, the satisfaction of creating something wholesome from scratch, and the unique taste of homemade bread that outshines any store-bought loaf. If you’re new to breadmaking or looking to refine your skills, you’re in the right place. This guide will walk you through essential tips and techniques to help you achieve the perfect bake every time. From selecting quality ingredients to mastering kneading techniques, we’ve got you covered. Ready to get your hands doughy? Let’s explore the art of baking bread!
Understanding the Basics of Breadmaking
Before we jump into our top tips, it’s important to understand the foundational elements of breadmaking. At the heart of every loaf are a few simple ingredients—flour, water, yeast, and salt. Each plays a crucial role in the final product. Flour provides the structure, water hydrates the flour to form gluten, yeast acts as the leavening agent, and salt enhances flavor while controlling yeast activity. Mastering these basics ensures you’re well on your way to baking success. By understanding how each component interacts, you’ll be better prepared to troubleshoot any issues and make adjustments as needed.
Tip 1 Choosing the Right Flour for Perfect Bread
Quality flour is the backbone of any good bread. The type of flour you choose can drastically affect the texture and taste of your loaf. Bread flour, with its higher protein content, is ideal for most bread recipes as it provides the necessary gluten structure. However, if you prefer a softer or more delicate crumb, all-purpose flour can also be used. Experimenting with whole grain or specialty flours like rye or spelt can add unique flavors and textures. Remember, freshness matters! Always store your flour in a cool, dry place and check for freshness before using. A great loaf starts with great flour.
Tip 2 Activating Yeast for Optimal Bread Rising
Yeast is the magical ingredient that transforms dough into a light, airy loaf. Activating yeast correctly is critical to achieving the best rise. Begin by using lukewarm water (about 100°F) to dissolve the yeast, adding a pinch of sugar to kickstart the process. After about 5-10 minutes, the mixture should become frothy, indicating that the yeast is active. If not, the yeast might be expired, and it’s best to start over with a fresh batch. Proper yeast activation ensures your dough rises consistently, resulting in a beautifully textured bread. Avoid using hot water as it can kill the yeast, hindering the rise.
Tip 3 Mastering Temperature and Timing in Breadmaking
The right temperature and timing are crucial for proofing and baking your bread. During proofing, a warm, draft-free environment allows yeast to ferment effectively, producing carbon dioxide that makes the dough rise. Ideally, room temperature should be around 75°F. Cold temperatures can slow down or halt fermentation altogether. When it comes to baking, preheat your oven to ensure a consistent temperature. A well-preheated oven helps the bread rise rapidly in the initial stages of baking, known as “oven spring.” Following recommended proofing and baking times is essential, but always keep an eye on your dough—it should double in size during proofing and sound hollow when tapped if fully baked.

Tip 4 Kneading and Shaping Techniques for Artisan Bread
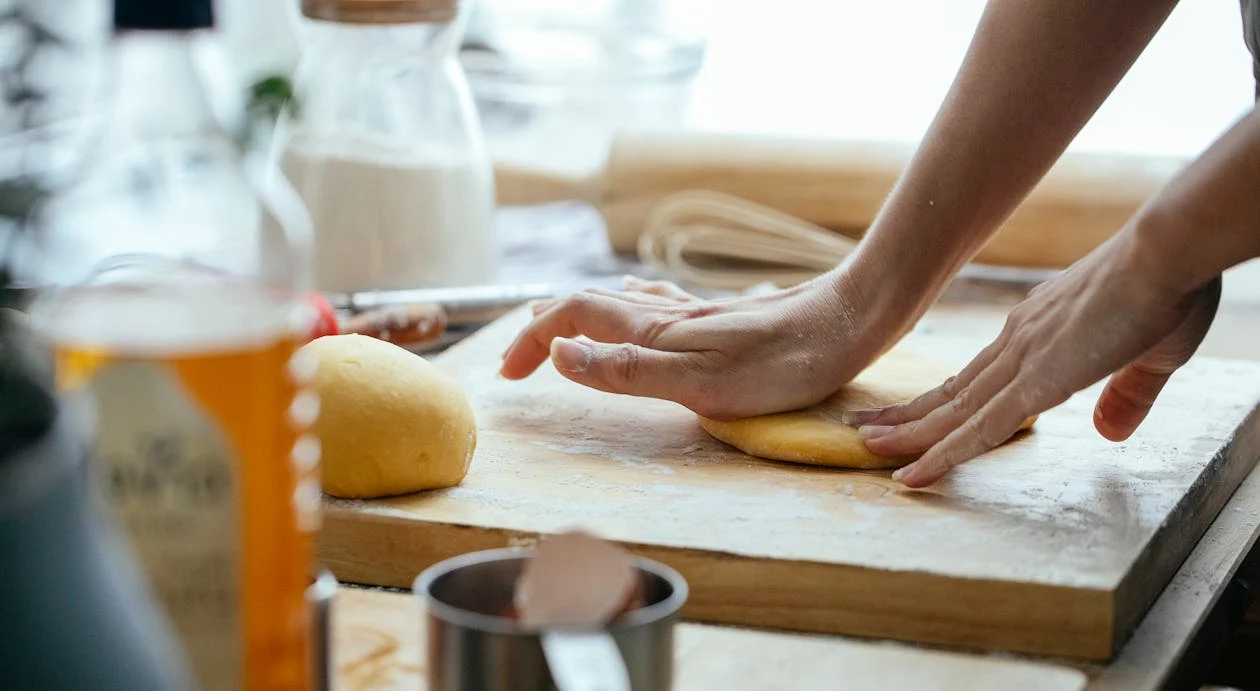
Kneading is more than just mixing ingredients; it develops gluten, giving bread its structure. There are various kneading techniques, such as the push-pull method or the stretch-and-fold approach. Whichever you choose, the key is consistency and rhythm. Knead until the dough is smooth and elastic, passing the “windowpane test” where a small piece can be stretched thin without breaking. When shaping, gently deflate the dough and form it into loaves, rolls, or other desired shapes, ensuring a tight surface for even baking. Different types of bread require different techniques, so don’t be afraid to try new methods and find what works best for you.
Tip 5 Achieving the Perfect Bake
Knowing when your bread is perfectly baked can be tricky but is achievable with practice. A well-baked loaf should have a golden-brown crust and sound hollow when tapped on the bottom. Internal temperature is another indicator; aim for around 190°F for most breads. If your crust browns too quickly, tent the loaf with foil. Avoid common pitfalls, such as underbaking, which results in a gummy crumb, or overbaking, which dries out the loaf. Allow your bread to cool on a wire rack to prevent sogginess and to set the crumb structure. A little patience goes a long way in achieving the perfect bake.
Conclusion
Baking your own bread is a rewarding endeavor that combines science, art, and a bit of magic. With these tips in hand, you’re well-equipped to tackle any bread recipe and impress family and friends with your homemade creations. Remember, practice makes perfect, so don’t be discouraged by a less-than-perfect loaf. Each baking session is an opportunity to learn and refine your skills. Keep experimenting, try new techniques, and most importantly, enjoy the process. Whether you’re a novice baker or seeking to elevate your craft, the joy of baking and sharing fresh bread is unparalleled.


